How to Fix Baseboards with a Repair Patch
It is simpler to patch imperfections and holes in baseboards than to change the total piece. In older houses, changing it completely pitfalls hurt to the plaster, and can be a hard course of action if the baseboard is tucked behind the wood ground.
Also, finding a molding profile that matches the existing trim can be difficult at greatest – and expensive if it calls for having the trim custom made built. For these good reasons, Tom Silva prefers to patch the baseboard with a dutchman – a wood restore patch that is glued into a custom-slash gap.
Instead of reducing the patch to match the hole, Tom cuts the hole to match the patch. He works by using a very simple customized-designed template and routers to slash the gap.
Methods for Patching a Baseboard:
1. Lower a piece of wood that is massive ample to address the patch you require to make. Make the patch thinner than the thickness of the baseboard. In this circumstance the patch is approximately 3/8”-1/2”.
2. Minimize a template that matches the dimensions of the patch out of ¾ inventory – plywood, MDF, composite board any scrap inventory that is rigid and correctly flat will perform.
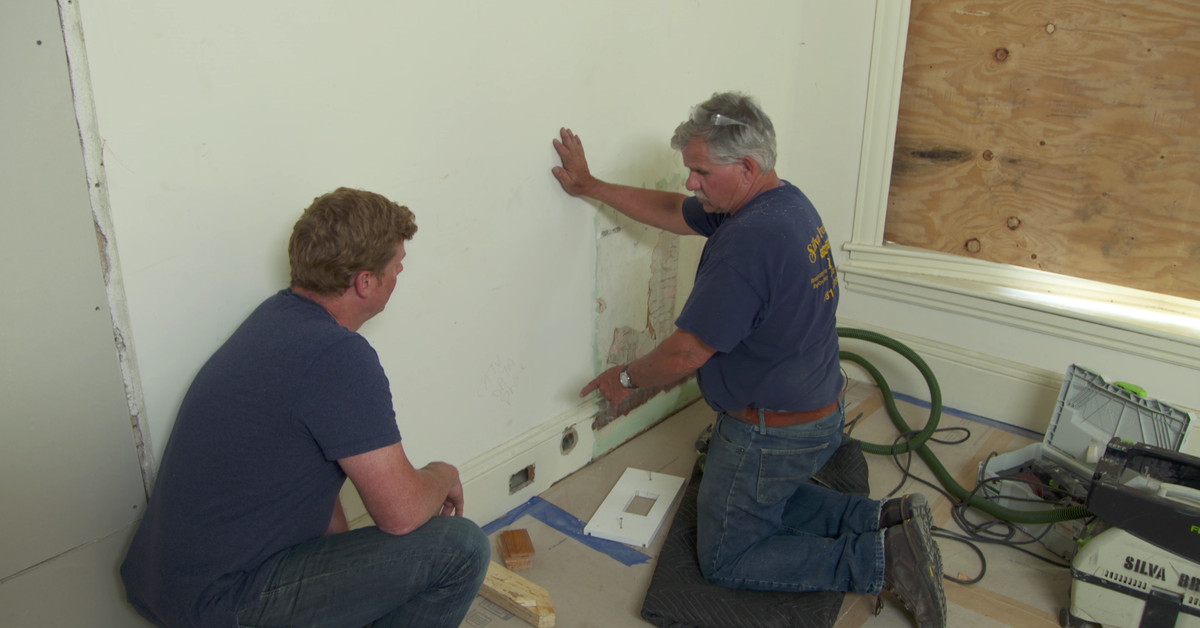
3. Screw the template over the region.
4. Working with a router geared up with a top rated-bearing flush reducing bit (or a guide bushing and straight little bit*), lower out the area within the template. It’s very best to make a shallow slash in lieu of chopping comprehensive depth. This will give the patch much more glue floor, producing it a lot more stable. Lower the gap the depth of the patch manufactured in Phase 1. Use a vacuum or dust extractor to seize the dust as you go.
* Be aware: If applying a manual bushing, make absolutely sure to increase the sizing of the template opening based mostly on the bushing’s offset.
5. Sq. the corners on the hole working with a chisel.
6. Glue the patch and faucet it into area. No have to have to nail it the glue will hold it in position.
7. Sand the patch easy. Primary, and paint.